|
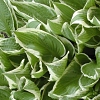
STEP ONE
Looking for the right type of image to tile and make a Mosaic of can be time consuming and mentally taxing. It takes time and practice to find images that will tile properly. It took me a while to learn how to look for and shoot images that will make an attractive mosaic.
|
 |
|
STEP TWO
Once you have the image that you are going to work with take it into whatever image editing software you have and make a copy of it. Then take this new image and mirror it.
|
|
|
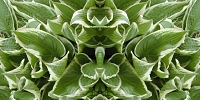
STEP THREE
Go back to your first image and add a border to the right side in the exact same dimensions as the original image.
|
 |
|
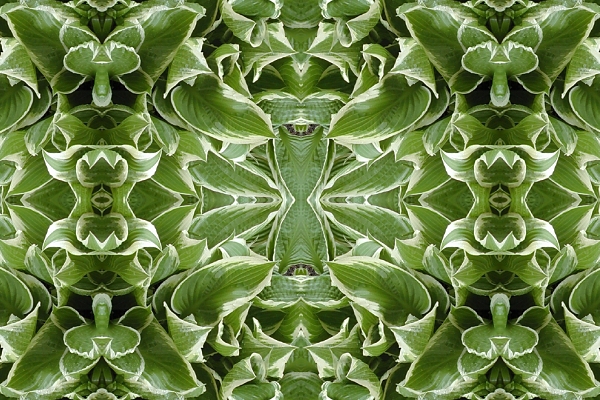
STEP FOUR
Now cut the second (mirrored) image and paste it into the first image covering the border area that you have created there.
|
 |
|
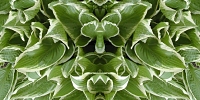
STEP FIVE
This step is very similiar to step two. Make a copy of this image. Paste it as a new image. Now rotate this image 180 degrees, do not mirror it.
|
 |
|
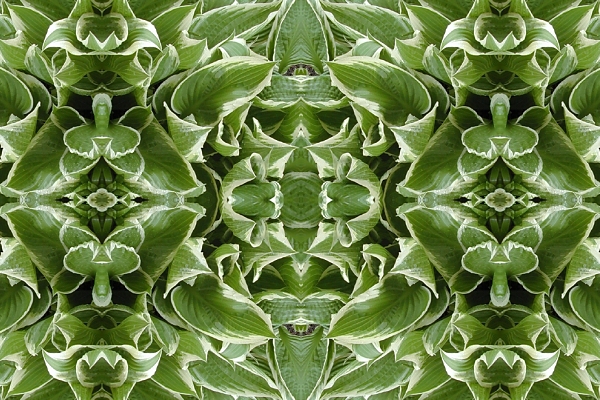
STEP SIX
Now return to the image in Step Four and add a border to the bottom with the same dimensions as it is.
|
 |
|
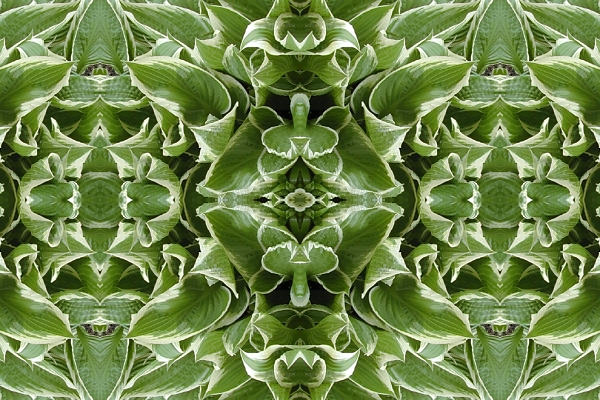
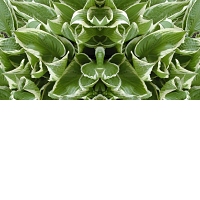
STEP SEVEN
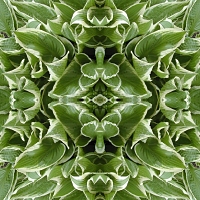
Now take the rotated image from Step 5 and cut it. Then paste this image over the border that you created in Step 6.
This gives you your final Mosaic. You do not need to make the images square as I did here, this was just for demonstration purposes. By starting with rectangular images you get different but similiar results. You can also take a square image and create rectangular images as I have demonstrated below.
|
 |